Making a solar panel with aluminum foil is a simple and fun science project that can be done at home with few materials. The most important part of making a solar panel is to create a circuit. This can be done by connecting the positive lead of a battery to one end of the foil, and the negative lead to the other end.
Once the circuit is complete, the foil will conduct electricity and power the device it is connected to.
- Gather the materials you will need: a sheet of plywood, a sheet of glass, aluminum foil, silicon caulk, and wire
- Cut the plywood to the desired size for your solar panel
- Place the sheet of glass on top of the plywood and trace around it with a pencil
- Cut out the traced shape from the plywood with a saw
- Cover the entire back side of the glass with aluminum foil, using silicon caulk to secure it in place if necessary
- Connect wires to the aluminum foil and run them to an inverter or battery pack

Credit: solarsena.com
Can You Make a Solar Panel With Foil?
If you’re looking to build a solar panel with foil, there are a few things you’ll need to keep in mind. First, it’s important to use a type of foil that is highly reflective. This will help to maximize the amount of sunlight that is reflected onto the solar cells.
Additionally, you’ll want to make sure that the surface of the foil is smooth. This will help to reduce any wind resistance and allow for more efficient light collection.
One method for building a solar panel with foil is to start by attaching the reflective material to a piece of plywood or another sturdy base.
Then, you’ll need to add your solar cells to the center of the board. Be sure to leave enough space between each cell so that they can absorb as much light as possible. Once all of the cells are in place, you can then cover them with another layer of reflective material.
Finally, connect your solar panel to an inverter and you’re ready to start generating electricity!
Can You Make a Homemade Solar Panel?
Yes, you can make a homemade solar panel, but it’s not as simple as just putting some solar cells together. There are a few things you need to consider before starting such a project.
First, you need to determine what size panel you want to make and what purpose it will serve.
Solar panels come in a variety of sizes, from small panels that can charge a cell phone to large ones that can power an entire home. The size of the panel will dictate how many solar cells you’ll need and how much space you’ll need to build it.
Second, you need to select the right type of solar cell for your project.
There are two main types of solar cells: monocrystalline and polycrystalline. Monocrystalline cells are more efficient but also more expensive. Polycrystalline cells are less efficient but cheaper.
You’ll need to decide which trade-off is best for your needs.
Third, you’ll need to gather the materials for your project. In addition to solar cells, you’ll need some sort of frame or backing material (such as plywood), wire, solder, and other basic tools and supplies.
Once you have everything gathered, you’re ready to start building!
Fourth, follow instructions carefully when assembling your solar panel. If done correctly, soldering the connections between the solar cells is crucial for ensuring that your panel will work properly.
Take your time and be careful not make any mistakes here.
Finally, test your new homemade solar panel by hooking it up to an appropriate power source (such as a 12 volt battery) and measuring the output voltage with a multimeter. If everything checks out okay, congratulations – you’ve just built yourself a working solar panel!
What Household Items Can You Use to Make Solar Panels?
Solar panels are a great way to save money on your energy bill, and they’re also environmentally friendly. You can make your own solar panels using some common household items.
Here’s what you’ll need:
• A sheet of Plexiglas or another clear, sturdy plastic (you can find this at a hardware store)
• A roll of black electrical tape
• A sharp knife or box cutter
• A ruler or measuring tape
• Sandpaper
Start by cutting the Plexiglas into small rectangles, using the ruler or measuring tape to get precise measurements.
The size of the rectangles will depend on the size of the solar panel you want to create. Once all of the pieces are cut, use sandpaper to slightly roughen up one side of each rectangle. This will help the electrical tape adhere better.
Now it’s time to start taping! Place a strip of electrical tape along one edge of each rectangle, making sure that the rough side is facing up. Be sure to overlap each piece of tape slightly so that no light can get through.
Continue until all four sides are covered in black electrical tape. Now take two pieces of Plexiglas and line them up so that the taped sides are touching. Tape these two pieces together with more electrical tape, overlapping the edges as before.
Repeat this step until all of your pieces are connected together into one large panel. You can now place your homemade solar panel in a sunny spot and start generating power!
How Do You Make a Solar Panel With Homemade Materials?
Solar panels are a great way to save money on your energy bill, and they’re also good for the environment. making your own solar panel is a great way to get started with renewable energy.
Here’s how to make a solar panel with homemade materials:
1. Gather your materials. You’ll need some solar cells, solder, wire, a sheet of Plexiglas or tempered glass, and something to mount the solar cells on (a piece of wood works well).
2. Cut the Plexiglas or tempered glass to size using a saw – make sure it’s big enough to cover all of the solar cells.
3. Place the solar cells on the Plexiglas or tempered glass in an array – you can find instructions online for how to do this depending on the size and shape of your particular solar cells.
4. Connect each cell in the array together using solder and wire – again, there are instructions online for how to do this properly.
5. Cover the entire back side of the array with another piece of Plexiglas or tempered glass – this will help protect the cells from weather damage.
6. Mount the completed panel on a south-facing wall or roof – this will ensure that it gets plenty of sunlight throughout the day.
7. That’s it!
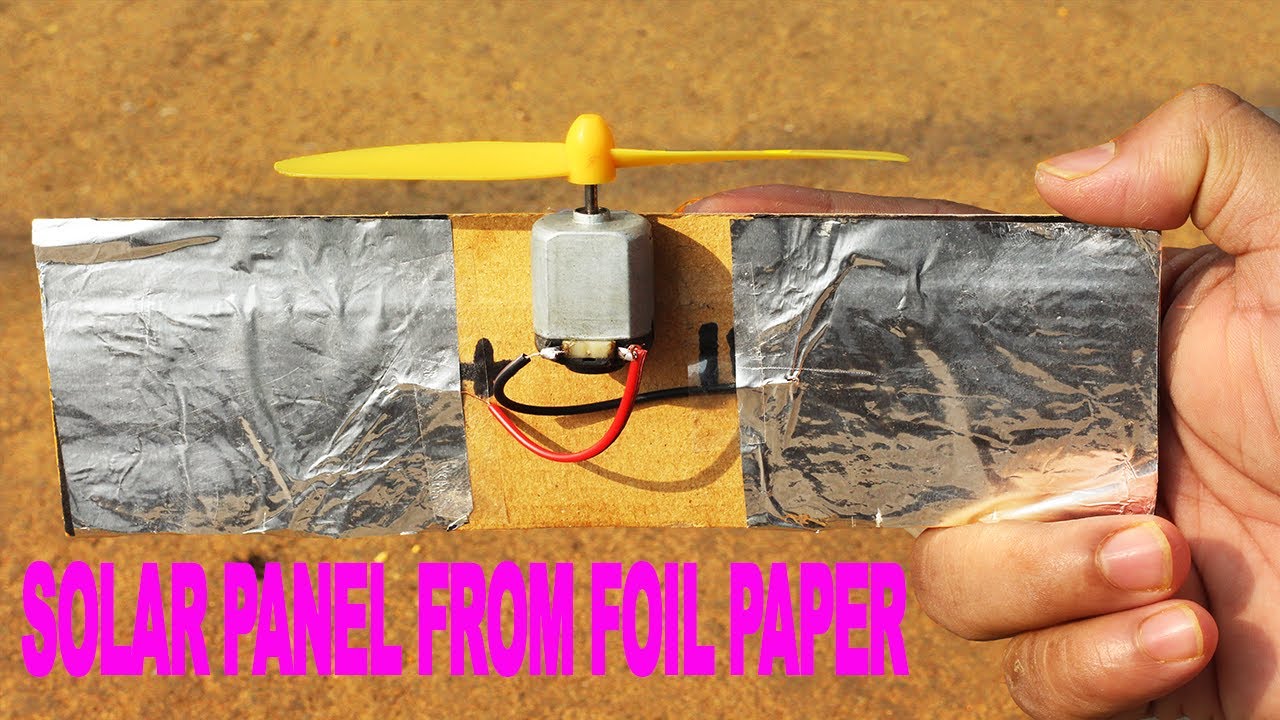
how to make solar panel using foil paper – solar panel very easy at home
How to Make a Solar Panel With Household Items
Solar power is a clean and renewable energy source that can be harnessed by everyone, regardless of their location or economic status. It’s no wonder then that more and more people are interested in learning how to make a solar panel with household items.
The good news is that it’s actually quite easy to do!
All you need are some basic materials like cardboard, aluminum foil, and clear packing tape. With a little bit of time and effort, you can build your very own solar panel that will help you save money on your electricity bills.
Here’s a step-by-step guide on how to make a solar panel with household items:
1. Cut the cardboard into two pieces that are approximately the same size. These will be the front and back of your solar panel.
2. Cover one side of each piece of cardboard with aluminum foil, making sure that the shiny side is facing outwards.
Use clear packing tape to secure the foil in place.
3. Place the two pieces of cardboard together so that the aluminum foil sides are touching. Again, use clear packing tape to secure them in place.
4. Connect one end of your black electrical wire to the positive terminal of your battery, and then attach the other end of the wire to the top corner of your solar panel (where the two pieces of cardboard meet). 5 . Repeat this process for the red electrical wire, but connect it to the negative terminal on your battery instead 6 .
Now it’s time to test out your new solar panel!
How to Make a Solar Panel With Aluminum Foil Pdf
Solar panels are a great way to save energy and money, and they’re easy to make! With just a few materials, you can create your own solar panel that will power your home or office. Here’s what you need:
-Aluminum foil
-A sheet of glass or Plexiglas
-An old window screen
-A roll of black electrical tape
-A utility knife
Start by cutting the aluminum foil into strips, using the utility knife.
You’ll want the strips to be about 3 inches wide. Once you have your strips cut, lay them out on the Plexiglas or glass sheet. Make sure that the strips are overlapping so that there are no gaps.
Use the black electrical tape to secure the foil in place. Be sure to evenly distribute the tape so that all of the foil is covered.
Now it’s time to install your solar panel!
Place the panel in an area where it will get direct sunlight for at least 6 hours per day. If you live in a sunny climate, you can place it outdoors on a rooftop or in your yard. If you live in a more northern climate, placing it near a south-facing window would work best.
Once you have found the perfect spot for your solar panel, use the black electrical tape to secure it in place. That’s it – you’ve now made your very own solar panel!
How to Make a 12V Solar Panel at Home
Assuming you would like a blog post discussing how to make a 12V solar panel:
Solar power is a renewable and sustainable source of energy that can be harnessed in many ways. One popular way to use solar power is by creating DIY solar panels.
making your own 12V solar panel at home is relatively simple and can be done with easily accessible materials.
What You’ll Need:
-Plywood
-Ruler or measuring tape
-Pencil
-Circular saw (optional)
-Solar cells
-Epoxy resin or solder paste
-Soldering iron
-Cabling
-(2) alligator clips or wires with stripped ends
Instructions:
1. Begin by cutting the plywood into two rectangular pieces that will serve as the top and bottom of the panel. The dimensions are not critical, but the top piece should be slightly smaller than the bottom piece to allow for overlap. A good rule of thumb is to make the top piece about 80% the size of the bottom piece.
2. Once you have cut the plywood, use the ruler or measuring tape to mark out where each solar cell will go. It’s best to lay them out in rows of 6 so that they are evenly spaced. Use the pencil to lightly trace around each cell so you know where to place them when it’s time to attach them.
3a. If you’re using epoxy resin, mix it according to the instructions on the package and use a toothpick or other small applicator tool to apply a generous amount around each perimeter of each cell tracing on the plywood bottom piece.. Carefully place each cell in its tracing, lining up the tabs on each side with their respective tracings on either side of it.. Allow plenty of time for the epoxy resin to dry completely before proceeding to step 4..
3b. If you’re soldering, first tin one side of every tab on every cell byapplyingsolderpasteorsolderwiretoitandheatingittillthemetalsmeltsandbondswiththesolder.. Next, lay out your cells in their tracings as before, this time being careful not tomisstabsorleaveanybaremetalexposedbetweencells..
How to Make Homemade Solar Panels Free
If you’re interested in renewable energy and want to do your part to reduce your carbon footprint, solar panels are a great option. And while commercial solar panels can be expensive, it’s actually quite easy to make your own at home.
The most important component of a solar panel is the photovoltaic cell, which converts sunlight into electricity.
You can purchase these cells online or at some electronics stores, and they’re not too expensive. Once you have your cells, you’ll need to connect them together in series so that the current flows through all of them.
Then, it’s just a matter of connecting the assembly to an inverter so that you can use the electricity generated by the sun in your home.
With a little bit of effort, you can easily build your own homemade solar panels free!
Conclusion
A solar panel made with aluminum foil is a great way to get started with renewable energy. It is easy to make, and it can be used to power small devices such as cell phones and LED lights. The best part about making your own solar panel is that you can customize it to fit your specific needs.


Leave a Reply