To change the battery on your Nest Thermostat 3rd generation, first remove the faceplate by gently pulling it off. Next, use a Phillips screwdriver to remove the two screws that hold the battery cover in place. Finally, insert two AA batteries into the Nest Thermostat and replace the battery cover and faceplate.
- First, you need to know where your Nest thermostat is located and turn off the power to it at the breaker box
- Next, use a small screwdriver or penknife to remove the cover of the battery compartment, which is located on the back of the device
- With the cover removed, you should see two batteries inside; one CR2032 coin cell battery and one AAA alkaline battery
- Use your small screwdriver or penknife to remove both of these batteries from their compartments and then dispose of them properly
- Take your new CR2032 coin cell battery and insert it into the empty compartment, making sure that the positive (+) side is facing up
- Insert your new AAA alkaline battery into the other empty compartment in the same manner, again making sure that the positive (+) side is facing up
- Once both batteries are inserted, replace the cover on the battery compartment and screw it back into place using your small screwdriver or penknife
- 8 Finally, turn your power back on at the breaker box and check to make sure that your Nest thermostat is working properly with its new batteries
Credit: www.howtodigitalstuff.com
Does the Nest 3Rd Generation Thermostat Have a Battery?
If you’re considering purchasing a Nest 3rd generation thermostat, you may be wondering if it has a battery. The answer is yes – the Nest 3rd generation thermostat does have a battery. This battery is used to power the device when there is no AC power available, and it will also provide backup power in case of a power outage.
The Nest 3rd generation thermostat uses a lithium-ion rechargeable battery. This type of battery offers several benefits over traditional batteries, including a longer lifespan and more stable performance. When the device is connected to AC power, the battery will automatically recharge itself.
However, if there are extended periods of time when AC power is not available (such as during a power outage), the battery will eventually need to be manually recharged using the included micro USB cable.
Overall, the inclusion of a battery in the Nest 3rd generation thermostat is a positive feature that gives users some peace of mind knowing that their device will continue to work even if there’s an interruption in AC power.
How Long Does Nest 3Rd Generation Battery Last?
Assuming you are referring to the battery life of the Nest Learning Thermostat 3rd Generation, it can last up to two years on a single charge. However, this will depend on how often you use your Nest and how high or low you set your temperature. If you use your Nest frequently or keep your temperature at a higher setting, then your battery may only last for one year.
How Do I Charge My Nest 3Rd Generation?
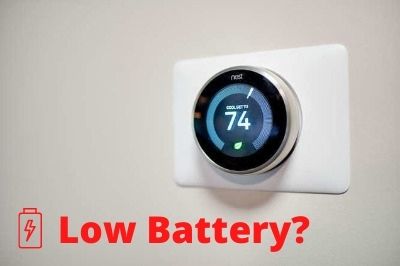
If your Nest thermostat is showing a battery icon, it means the battery needs to be charged. To charge your Nest:
-Remove the faceplate from the back of the Nest by gently pulling on it.
-Locate the charging contacts on the back of the Nest and line them up with the corresponding pins on the charging base.
-Push down on the charging base until you hear a click, indicating that it’s locked in place. The LED light on the front of the base will turn green when properly connected.
-Plug in the power adapter to an outlet and make sure that both ends of the USB cable are firmly inserted into their slots.
The LED will flash yellow while your Nest is charging and turn solid green once it’s fully charged, which can take up to two hours. You can continue using your Nest while it’s plugged in and charging – just be sure not to disconnect or move it while doing so.
Can You Replace the Battery in a Nest Thermostat?
If your Nest Thermostat is starting to act up, you might be considering replacing the battery. Maybe it’s not holding a charge as well as it used to, or maybe it’s just not working at all. Whatever the reason, you’re in luck – Nest thermostats use standard AA batteries that are easy to find and replace.
To replace the batteries in your Nest Thermostat, start by removing the faceplate from the device. There are two small release tabs on either side of the faceplate; gently press these in and pull off the faceplate. Underneath, you’ll see two AA batteries nestled into their housing.
Remove these and insert new ones in their place – making sure that they are inserted correctly according to the + and – symbols on the battery housing. Once your new batteries are in place, reattach the faceplate and give your Nest a few minutes to power on. You should now be good to go!
If you find that your Nest Thermostat is still acting up after replacing the batteries, there could be another issue at play. It’s always best to consult with a professional if you’re having trouble diagnosing or fixing problems with your devices.
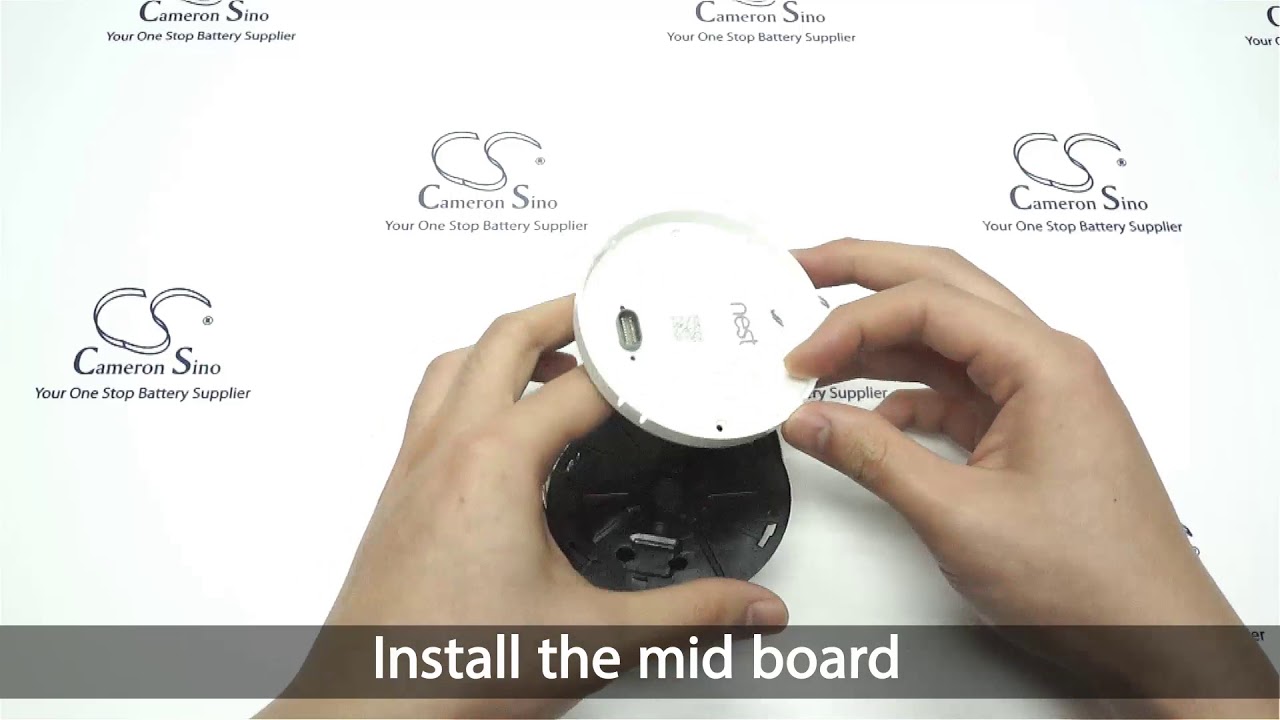
How To Replace Google Nest Thermostat 3rd Gen Lithium Ion Battery TL284443
How to Change Nest Battery 2Nd Generation
If your 2nd generation Nest Protect is low on battery, you’ll see a yellow light next to the Nest logo. To change the battery:
1. Remove the old battery by gently pushing it out of the nest protect.
2. Insert the new CR123A lithium batteries into the nest protect. Make sure that you insert them in the correct direction (the positive end first).
3. Press and hold the test button for a few seconds to wake up your nest protect and start a new battery life.
Nest Learning Thermostat 3Rd Generation Battery Life
The 3rd generation Nest Learning Thermostat has a slightly larger display and is available in additional colors. It also has new features, like Farsight, which shows you the time or temperature from across the room. And the Nest Thermostat E is designed to be 30% more energy efficient than previous models.
But one of the most notable changes with this release is the switch from a lithium-ion battery to a CR2 battery. This change was made in an effort to reduce waste and make it easier for customers to recycle their old thermostats. But what does that mean for the longevity of your battery?
The short answer: not much. The CR2 batteries used in the 3rd generation Nest Learning Thermostat have roughly the same lifespan as the lithium-ion batteries used in previous models. So you can expect your 3rd generation Nest Learning Thermostat to last about 2 years on a single charge.
Of course, there are a few things that can affect your battery life, like extreme temperatures and frequent use of Farsight. But if you keep an eye on your thermostat’s display, you’ll always know when it’s time to charge up again.
Replace Nest Thermostat Battery
If your Nest Thermostat is running a little low on juice, don’t worry – it’s easy to replace the battery. All you need is a Phillips head screwdriver and a new CR2032 coin cell battery. Here’s how to do it:
1. Remove the Nest Thermostat from the base by gently pulling it off.
2. Use the Phillips head screwdriver to remove the two screws from the back of the device.
3. Carefully pull off the back cover to reveal the battery compartment.
You should see a small, round CR2032 coin cell battery in there.
4. Use your finger or a tool to carefully pry out the old battery and dispose of it properly. Avoid touching the terminals with your bare skin as this could cause an electrical shock.
5a). Take your new CR2032 coin cell battery and insert it into the compartment positive side up (the side with writing on it should be facing out). If you have trouble getting it started, try using a flathead screwdriver or another tool to help get it going – just be careful not to touch any of the exposed terminals with your bare skin!
Nest 3Rd Generation Battery Not Charging
As of late, there have been many reports of the 3rd generation Nest battery not charging. This is a serious problem because it can cause your Nest to become unusable, and in some cases, it can be a fire hazard. If you have this problem, here are some things you can do to try and fix it.
First, check that the batteries are properly inserted into the charger. Sometimes they can come loose during shipping or if you drop the charger. If they’re not seated correctly, they won’t charge.
Next, try using a different power outlet. It’s possible that the outlet you’re using is damaged or isn’t providing enough power for the charger to work properly.
If those two things don’t work, then your best bet is to contact Nest support and see if they can help you troubleshoot the issue further.
In the meantime, you might want to consider buying a backup battery so that you’re not left without heat in the middle of winter!
Conclusion
In conclusion, it is very easy to change the battery on a Nest Thermostat 3rd Generation. Just follow the simple steps in this blog post and you will be able to do it in no time!


